Hopper Window Replacement
That small window in your basement or bathroom has probably been there for years. You may not think about it much — until it starts leaking, fogging up, or refusing to close properly.
Hopper windows are one of the most overlooked windows in a home. They’re small, they’re often in out-of-the-way places, and most homeowners don’t realize how much damage a failing one can cause — from moisture problems and mold to rising energy bills and security risks.
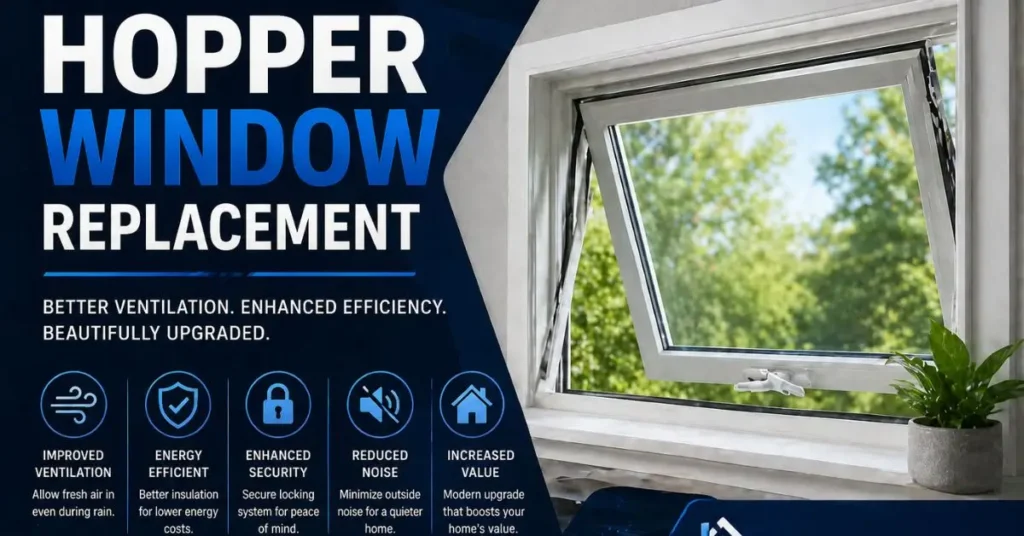
A hopper window is a small, inward-opening window hinged at the bottom, commonly installed in basements, bathrooms, and utility rooms. It tilts inward from the top when opened, allowing ventilation while keeping rain out. When the frame warps, the seal fails, or the hardware breaks, hopper window replacement becomes necessary to protect the space below.
This guide covers everything you need to know — from spotting the signs of failure to understanding your material options, costs, and what the replacement process actually involves.
Quick Summary
Hopper windows fail over time due to moisture, age, and wear. Replacing one typically costs $150–$650 depending on size, material, and whether you hire a professional. This guide helps you understand your options and make the right call for your home.
What Makes Hopper Windows Different
Hopper windows are unique because of how they open. Unlike casement windows that swing outward or double-hung windows that slide up and down, a hopper window tilts inward from the top — hinged at the bottom.
This design makes them ideal for below-grade installations like basements, where an outward-swinging window would be blocked by the ground or a window well. The inward tilt also means rain can’t easily enter even when the window is open, which is why they’re commonly used in bathrooms and laundry rooms too.
Their small size and specific function mean that when they fail, the problems tend to show up fast — especially in basements where moisture control is critical.
Signs You Need a Hopper Window Replacement
Not every problem requires a full replacement. But these signs usually mean the window has reached the end of its useful life.
Visible Condensation Between Panes
If you see fog or moisture trapped between two layers of glass, the insulated seal has failed. This can’t be fixed — only replaced. A broken seal means the window is no longer insulating effectively, which drives up heating and cooling costs.
Warped or Rotting Frame
Wooden frames in basements absorb moisture over time. Once a frame warps or rots, the window no longer closes flush against the opening — and that gap becomes a direct pathway for cold air, insects, and water.
Drafts and Air Leaks
Hold your hand near the frame on a cold day. If you feel a draft, the weatherstripping has deteriorated or the frame has shifted. Sometimes new weatherstripping fixes the problem. If the frame itself has moved or cracked, replacement is the better long-term solution.
Difficulty Opening or Closing
Hopper windows rely on hinges and a latch mechanism. If the window sticks, won’t stay open, or the latch no longer catches properly, the hardware may have corroded or the frame may have warped beyond adjustment.
Water Intrusion or Staining
Water stains on the wall below a hopper window are a serious warning sign. Even minor water intrusion in a basement can lead to mold, structural damage, and expensive remediation. Address it immediately.
Material Options for Replacement Windows
When you replace a hopper window, you have several frame material choices. Each has real trade-offs worth understanding.
Vinyl
Vinyl is the most popular choice for hopper window replacement in the US, and for good reason. It doesn’t rot, doesn’t need painting, resists moisture naturally, and is the most affordable option available.
For basement installations — where moisture exposure is highest — vinyl is almost always the right call. Energy-efficient vinyl windows with double-pane glass also significantly reduce heat loss through below-grade spaces.
Best for: Basements, bathrooms, high-moisture areas
Average cost: $150–$350 per window installed
Aluminum
Aluminum frames are strong, slim, and hold up well in wet conditions. They’re a common choice in commercial buildings and are available for residential use too. The downside: aluminum conducts heat and cold easily, which makes it a poor insulator compared to vinyl or fiberglass.
Unless you’re replacing a window in a climate-controlled space or have a specific design requirement, aluminum isn’t usually the best choice for a basement hopper window.
Best for: Mild climates, garages, non-insulated spaces
Average cost: $120–$300 per window installed
Fiberglass
Fiberglass is the premium option — strong, highly energy-efficient, and dimensionally stable (meaning it doesn’t expand or contract much with temperature changes). It also holds paint well if aesthetics matter.
The trade-off is cost. Fiberglass windows run significantly more than vinyl, and for a small basement hopper window, the extra expense is hard to justify unless energy performance is a top priority.
Best for: Extreme climates, high-performance builds
Average cost: $250–$650 per window installed
Wood
Wood frames look beautiful and insulate well — but in a basement or bathroom, they’re a liability. Moisture is the enemy of wood, and these are exactly the environments where hopper windows live. Unless you’re replacing a hopper window in a dry, above-grade space and plan to maintain it carefully, wood is not recommended.
Best for: Above-grade, dry installations only
Average cost: $300–$800+ per window installed
Cost Breakdown: What to Expect
Here’s a realistic look at hopper window replacement costs in the US market:
| Cost Factor | DIY | Professional Installation |
|---|---|---|
| Window unit (vinyl, standard size) | $80–$200 | $80–$200 |
| Labor | $0 | $100–$300 |
| Materials (caulk, foam, hardware) | $20–$50 | Included |
| Disposal of old window | $0–$20 | Usually included |
| Total Estimated Cost | $100–$270 | $200–$650 |
Costs vary based on window size, material, accessibility, and your location. In high cost-of-living cities like New York or San Francisco, labor rates run higher. In the Midwest and Southeast, professional installation is generally more affordable.
DIY vs. Professional Installation — Which Makes Sense?
This is one of the more honest questions to address, because the answer genuinely depends on your situation.
When DIY Makes Sense
If the opening is standard size, the frame is in reasonable condition, and you’re comfortable with basic tools — a hopper window replacement is a manageable DIY project. You’ll need a pry bar, caulking gun, expanding foam insulation, a level, and a drill.
The process involves removing the old window, cleaning out the opening, checking that it’s level and square, inserting the new unit, sealing around the frame, and testing the operation.
A homeowner in Ohio replacing a standard 24×36 inch basement hopper window can realistically complete this in 2–4 hours and save $150–$250 in labor costs.
When to Hire a Professional
If the opening is non-standard, the surrounding framing is damaged, there are signs of water intrusion in the wall, or the window is in a difficult location — hire a professional.
Incorrectly installed basement windows are a leading cause of basement moisture problems. If the seal isn’t right or the frame isn’t properly supported, you’ll spend far more fixing water damage than you saved on labor.
When hiring a contractor, get at least two quotes. Ask specifically about their experience with basement windows and what warranty they offer on both the window and the installation.
How to Measure for a Replacement Hopper Window
Getting the measurement right before ordering is critical. A window that’s even half an inch too large won’t fit without modifying the rough opening — a more complex job.
Measure the rough opening — not the old window frame. This is the actual hole in the wall. Measure the width at three points (top, middle, bottom) and the height at three points (left, center, right). Use the smallest measurement in each direction.
Most manufacturers recommend ordering a window 1/4 to 1/2 inch smaller than the rough opening on each side to allow for shimming and leveling.
If you’re unsure, take photos of the opening with a tape measure visible and bring them to your local window supplier. Most will help you identify the right size.
What to Look for in a Replacement Window
Beyond material and size, look for these features when choosing a replacement:
Double-pane glass with low-E coating — Reduces heat loss and blocks UV rays. Standard on most quality vinyl windows today.
Argon gas fill — Argon between the panes improves insulation. Worth having in cold climates.
Quality hardware — The latch and hinge are the parts most likely to fail first. Choose a window with solid, corrosion-resistant hardware, especially for bathroom or basement applications.
ENERGY STAR certification — Confirms the window meets efficiency standards set by the U.S. Environmental Protection Agency. In Canada, look for Natural Resources Canada (NRCan) certification.
Conclusion
A failing hopper window might seem like a minor inconvenience — but in a basement, it rarely stays minor for long. Moisture, drafts, and air leaks compound quickly and can lead to much bigger problems down the road.
The good news is that replacement is straightforward in most cases, affordable compared to other home repairs, and something many homeowners can handle themselves with a bit of preparation.
Take the time to measure carefully, choose the right material for your space, and don’t skip the sealing step. A properly installed hopper window will serve you quietly and effectively for 20–30 years.
Frequently Asked Questions
What is a hopper window and where is it used?
A hopper window is a small, bottom-hinged window that tilts inward from the top when opened. It’s most commonly installed in basements, bathrooms, and utility rooms because its design allows ventilation while preventing rain from entering, making it well-suited for below-grade and high-moisture spaces.
How much does hopper window replacement cost?
A typical hopper window replacement costs between $150 and $650 in the US, depending on the material, window size, and whether you hire a professional. DIY replacement using a standard vinyl window can cost as little as $100–$270 in total materials.
Can I replace a hopper window myself?
Yes, if the opening is standard size and the surrounding framing is in good condition. Basic tools and a few hours are all you need for a straightforward replacement. If there’s structural damage, water intrusion, or a non-standard opening, professional installation is the safer choice.
What is the best material for a basement hopper window?
Vinyl is the best material for most basement hopper window replacements. It resists moisture naturally, requires no painting or sealing, and offers good energy efficiency at an affordable price. Fiberglass is a premium alternative for extreme climates but costs significantly more.
How do I know if my hopper window needs replacing or just repairing?
If the glass seal has failed (visible fogging between panes), the frame is warped or rotting, or there’s active water intrusion — replacement is necessary. If the issue is worn weatherstripping or a faulty latch, repair may be enough. When in doubt, have a window contractor assess it.